
How to Use Your iPhone in All Lighting Situations
Let's continue our conversation about light and photography, and how to use it to your advantage.

As I mentioned earlier, the iPhone is a fantastic all-around, pocket-sized camera. One of the reasons I use it for every day shooting is that it’s incredibly forgiving in all types of lighting, and honestly, it performs exceptionally well in low-light situations.
Here are a few of my favorite tips to help you get the most out of your iPhone camera, no matter the lighting situation.
Tip 1: Manually Adjust Exposure Before You Shoot
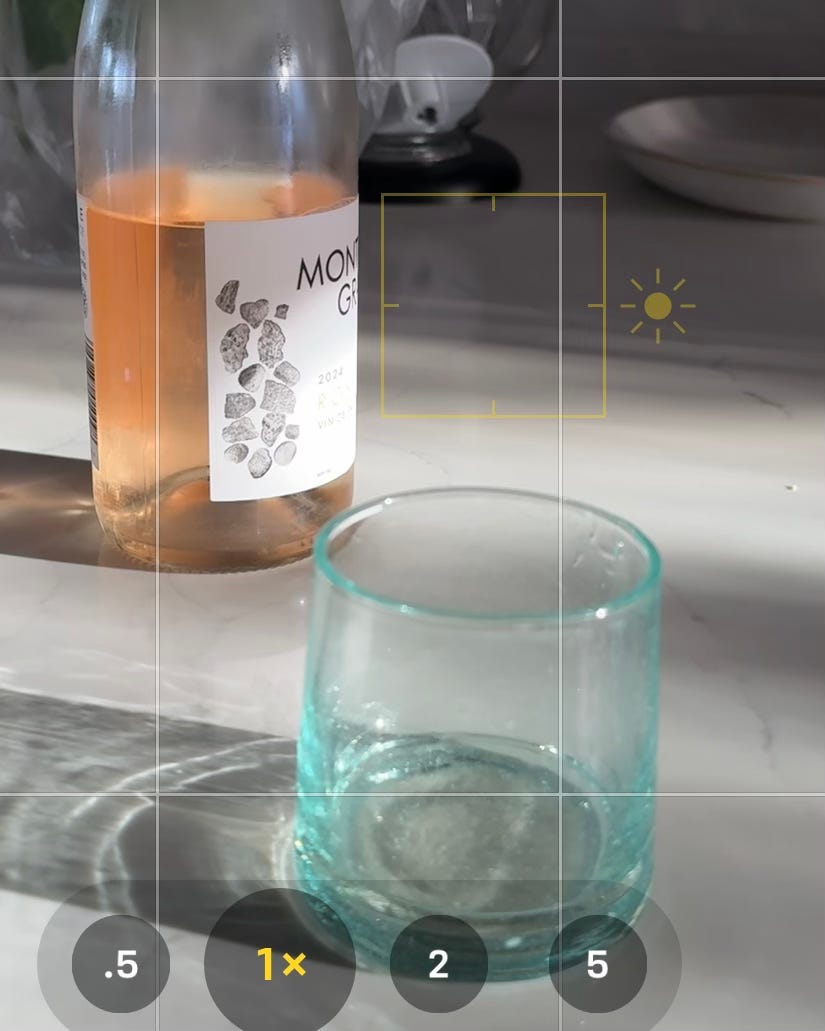
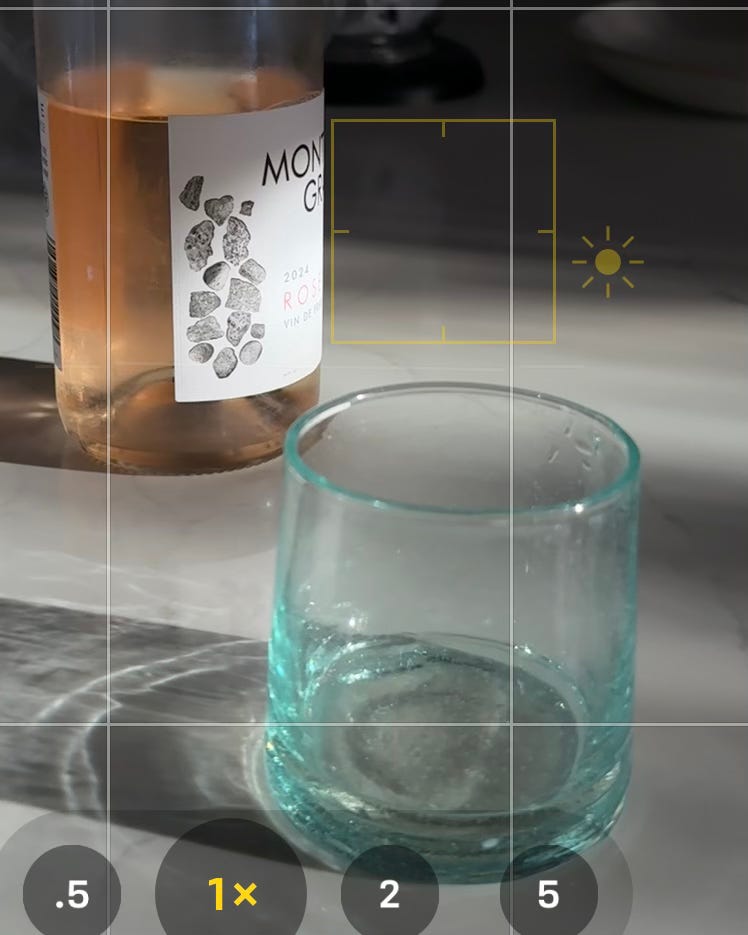
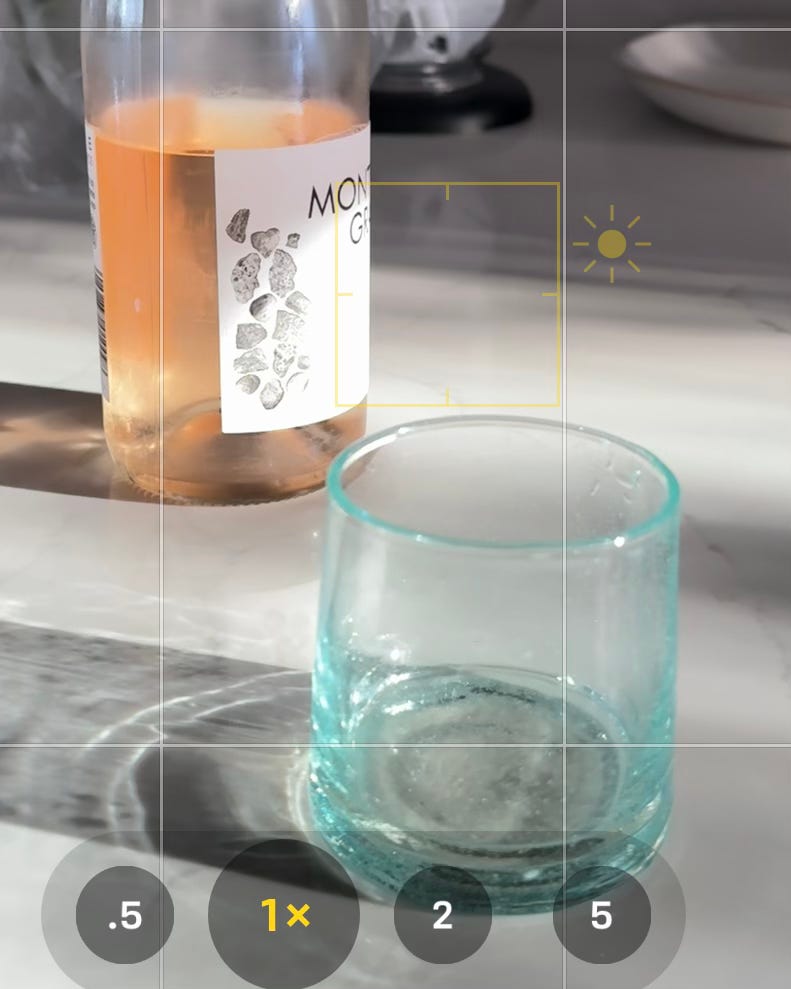
Open the Camera app and frame your subject. Tap the screen where you want to focus (usually on your subject), and faint little yellow box will appear with a sun icon next to it. This is your exposure control. Slide your finger up or down on the little sunshine to brighten or darken the image based on your lighting conditions. It’s quick and intuitive—and makes a huge difference.
EXAMPLES
Tip 2: Use the Manual Exposure Slider
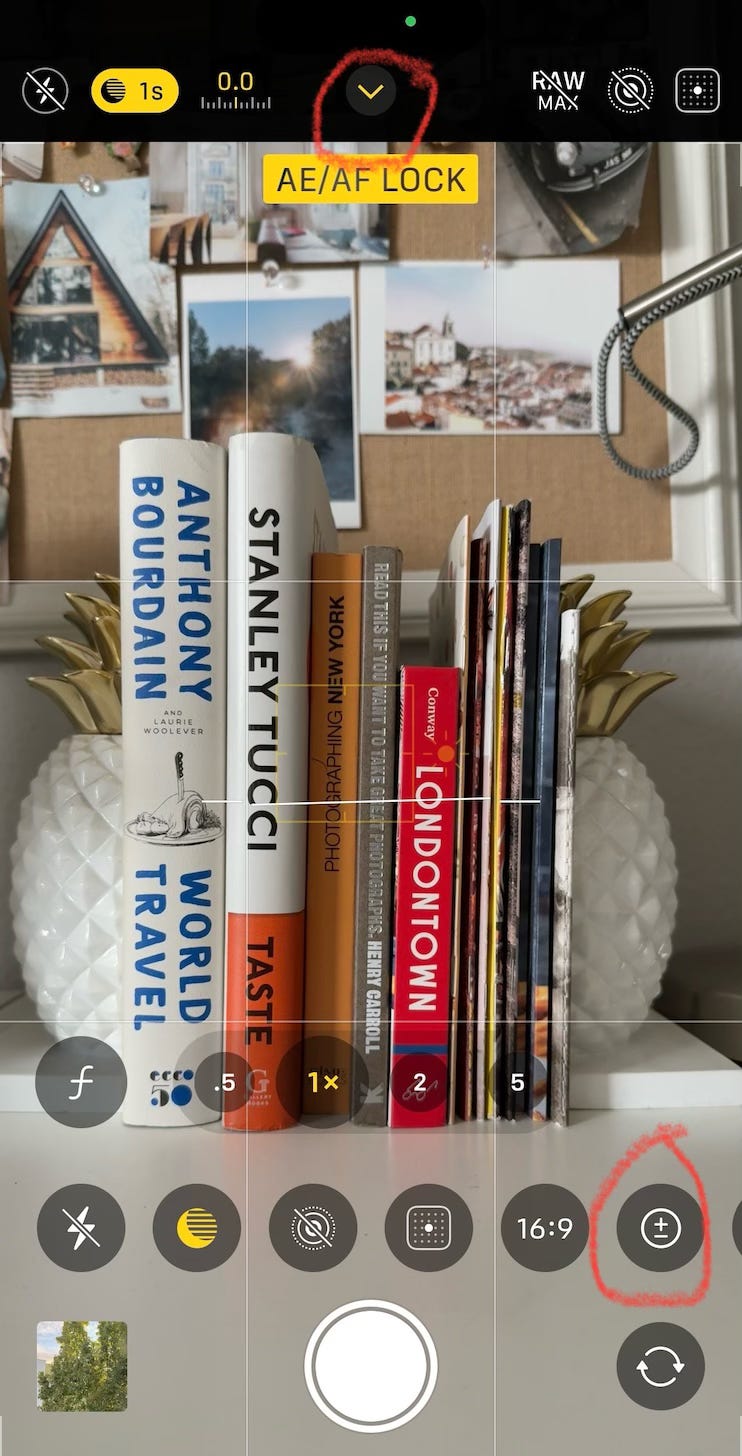
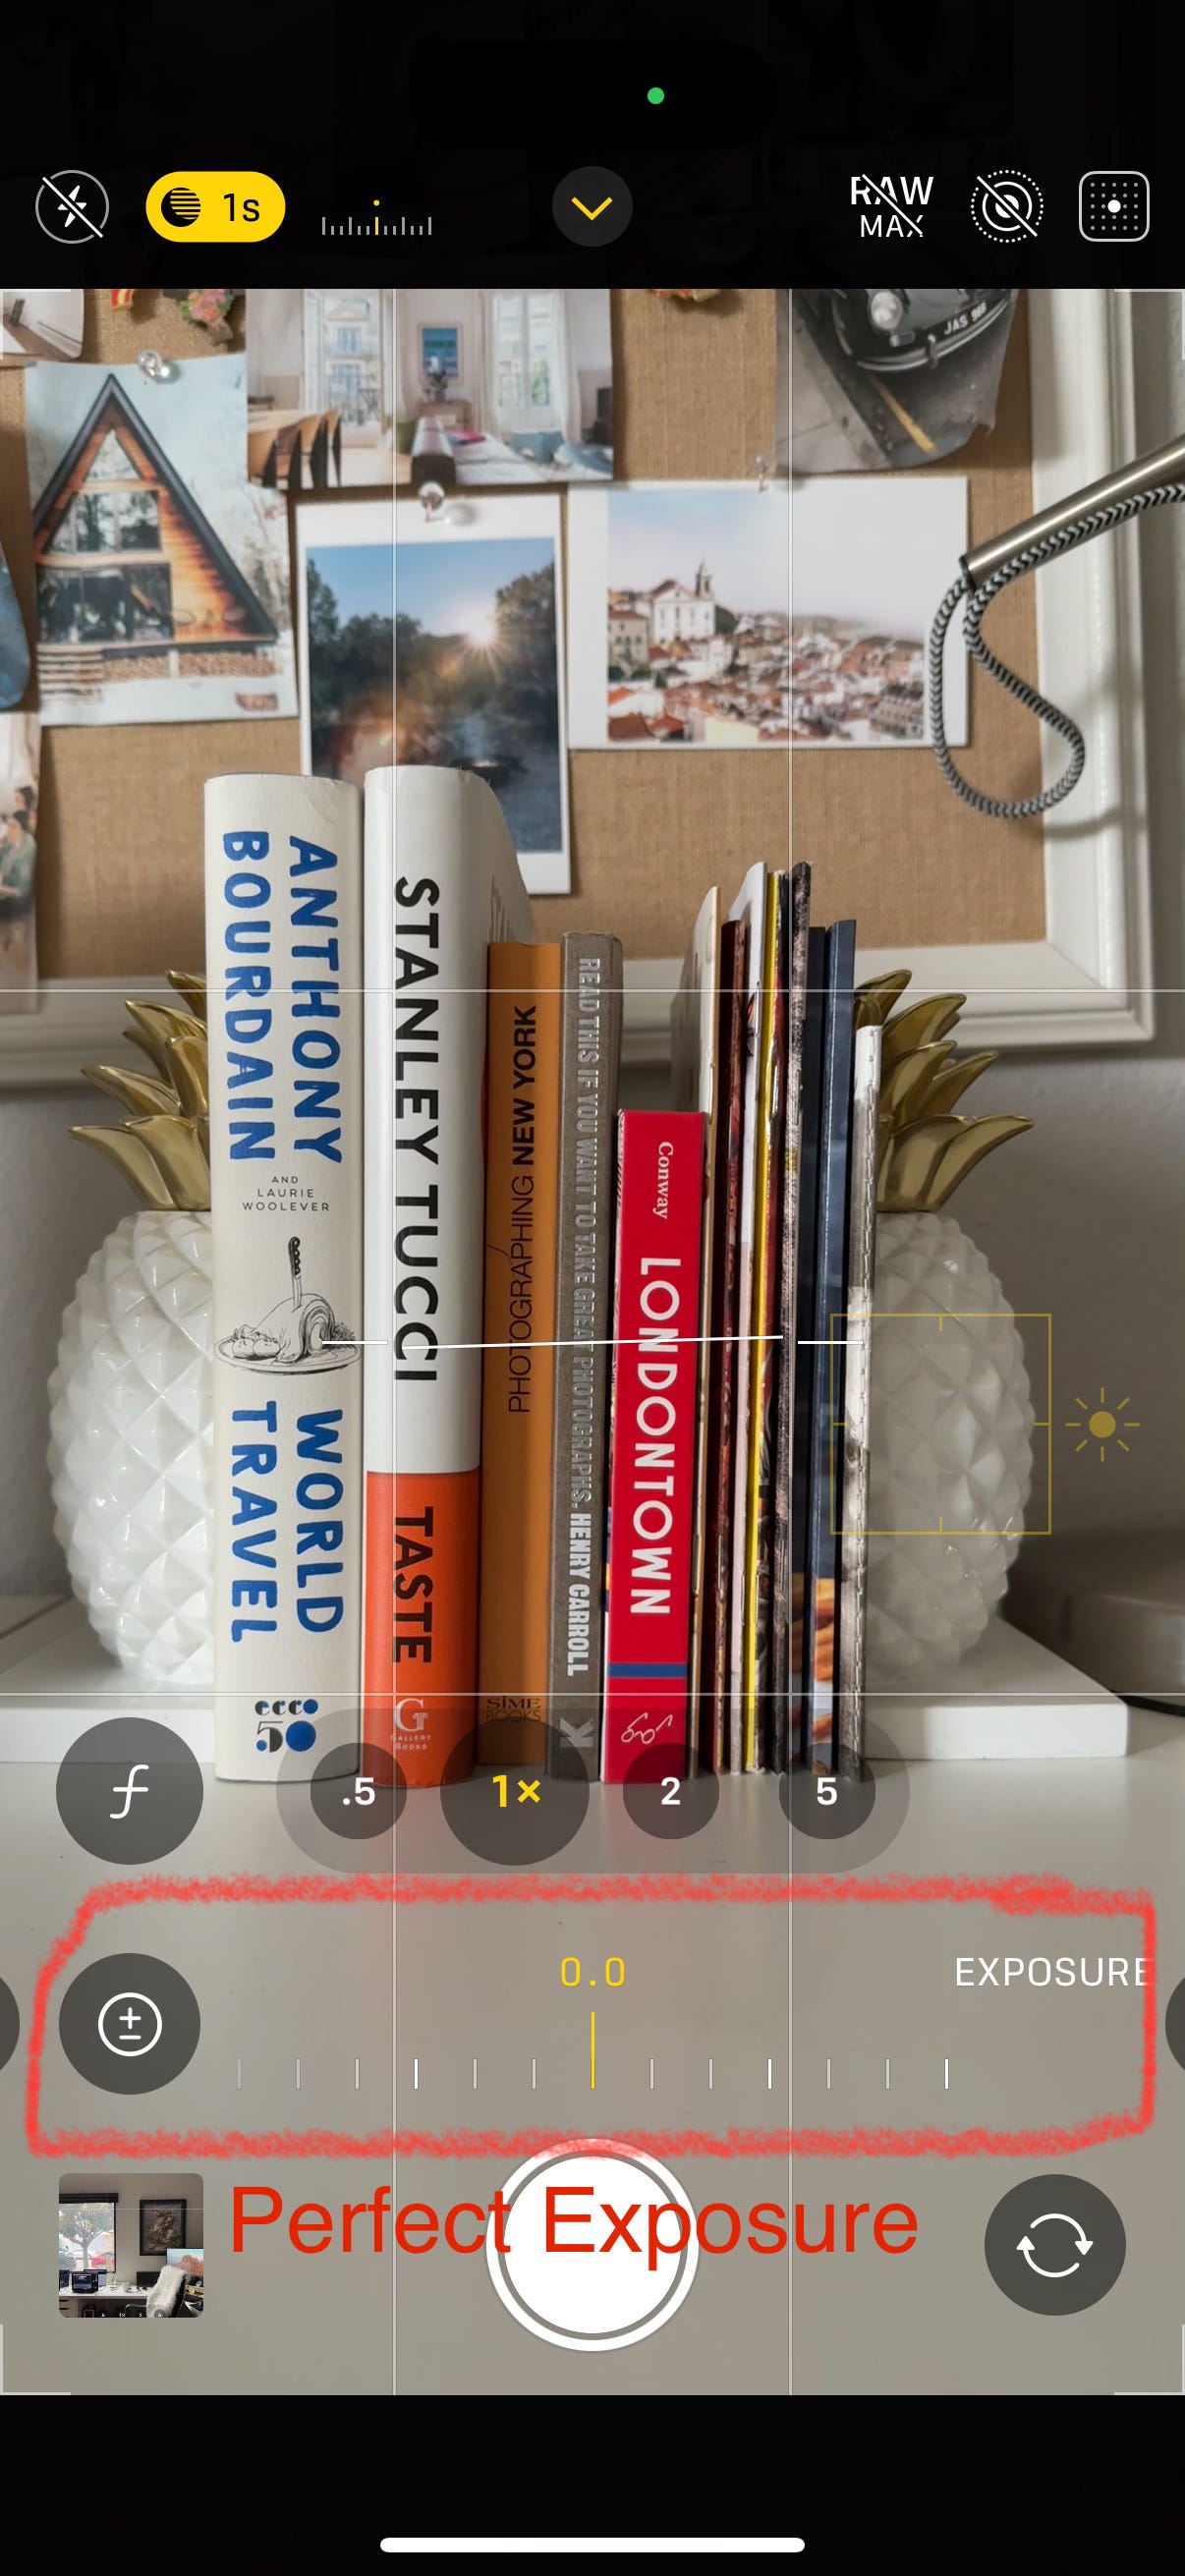
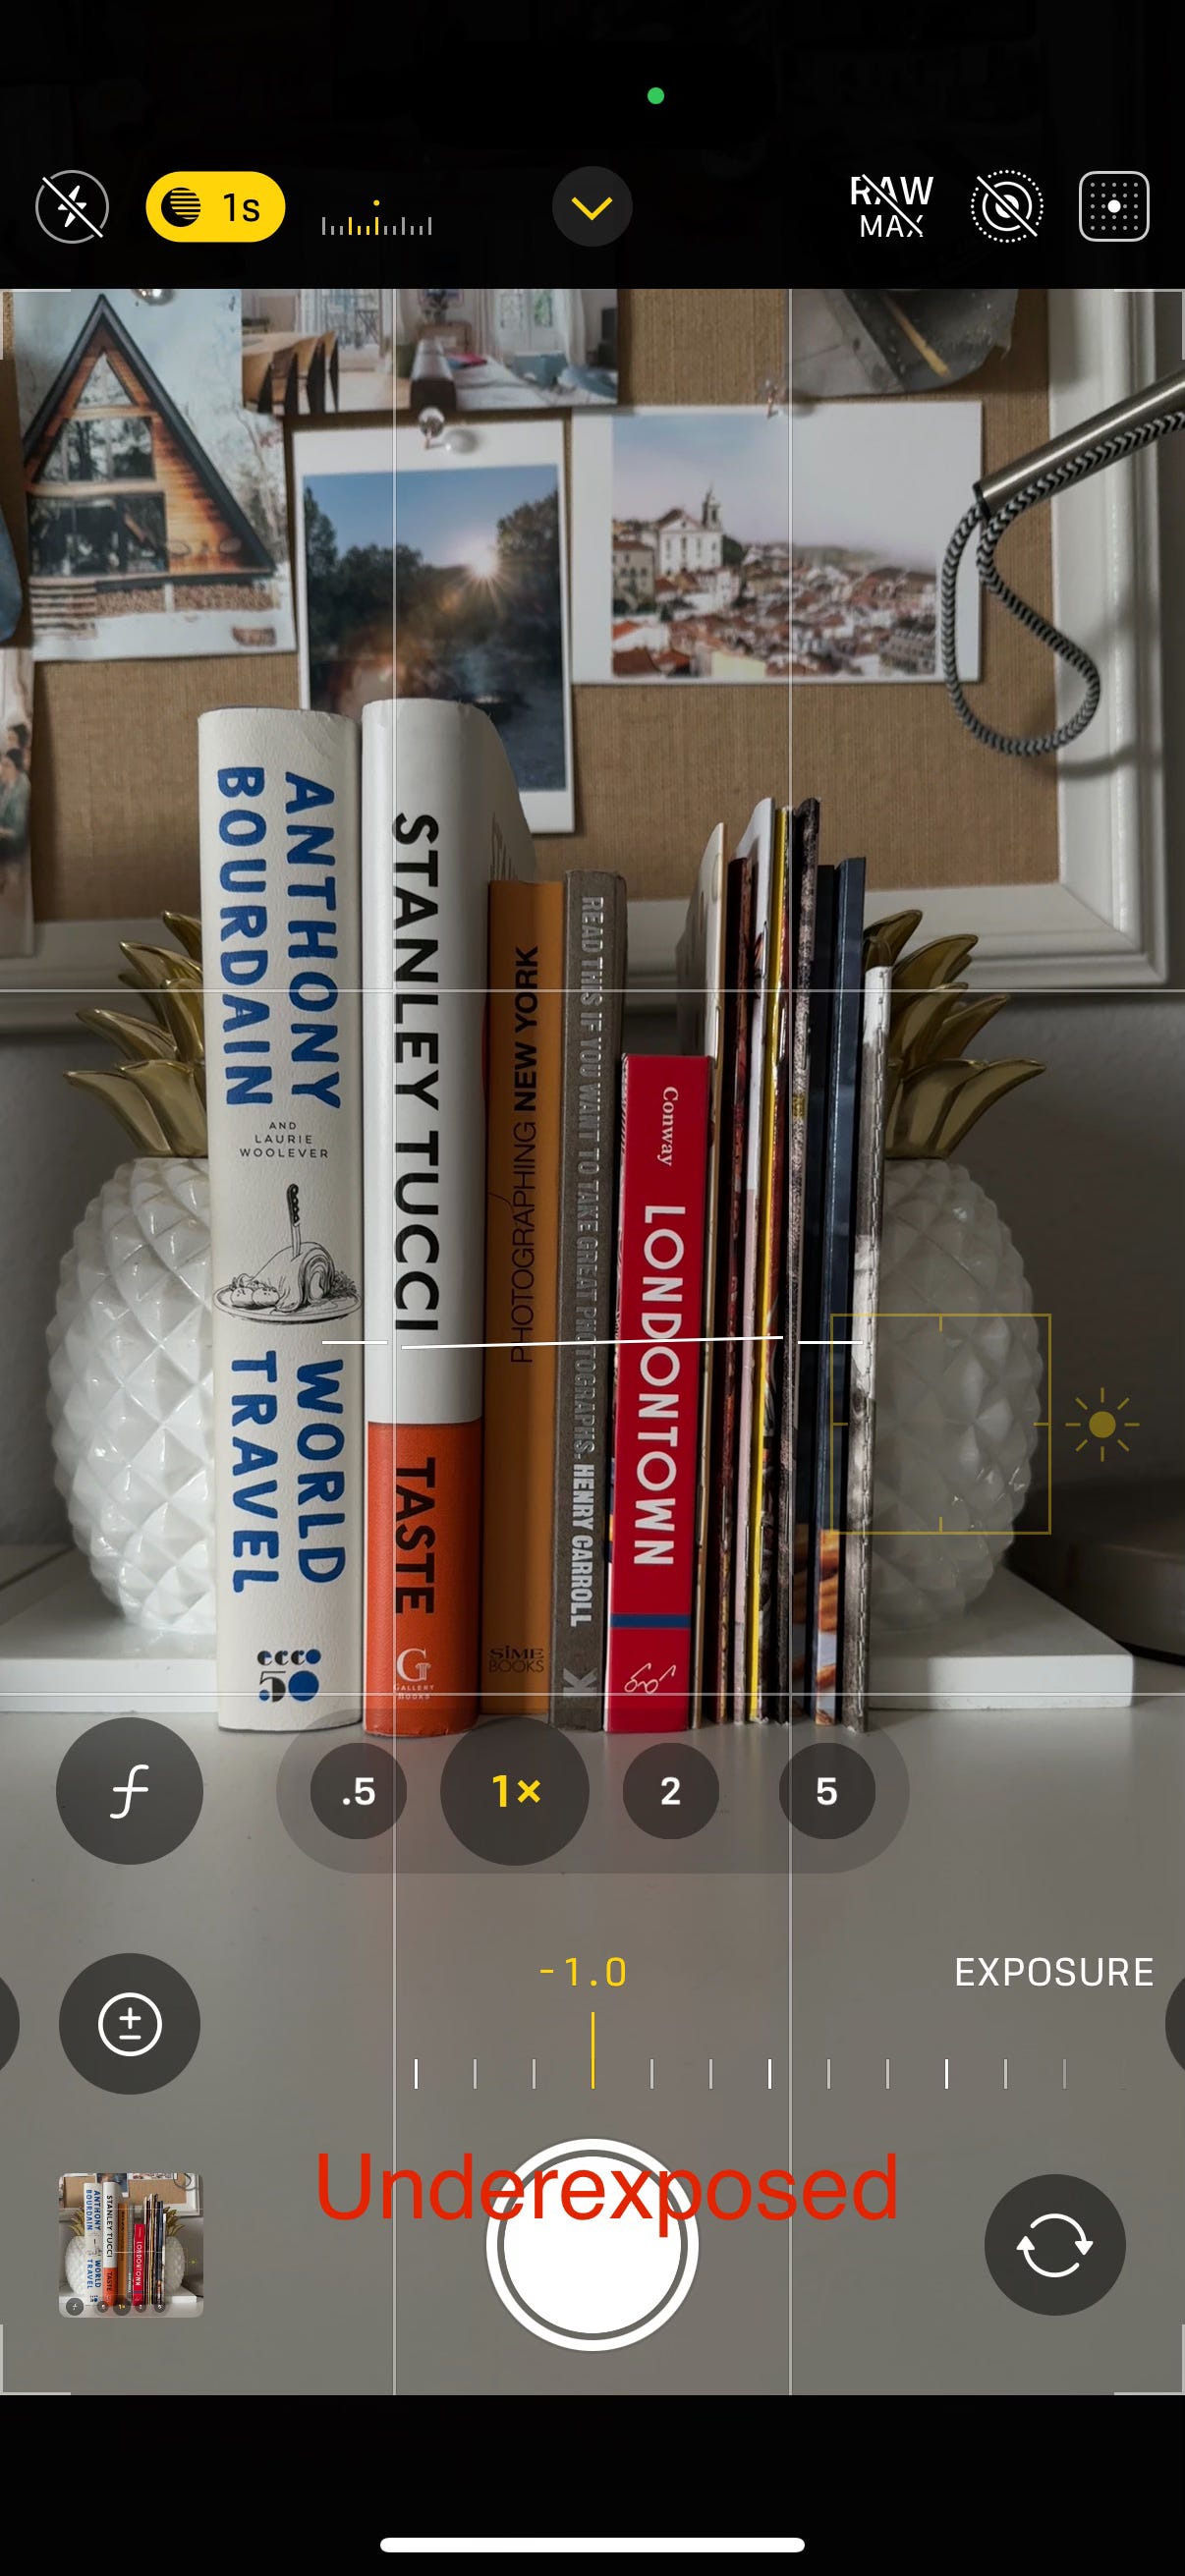
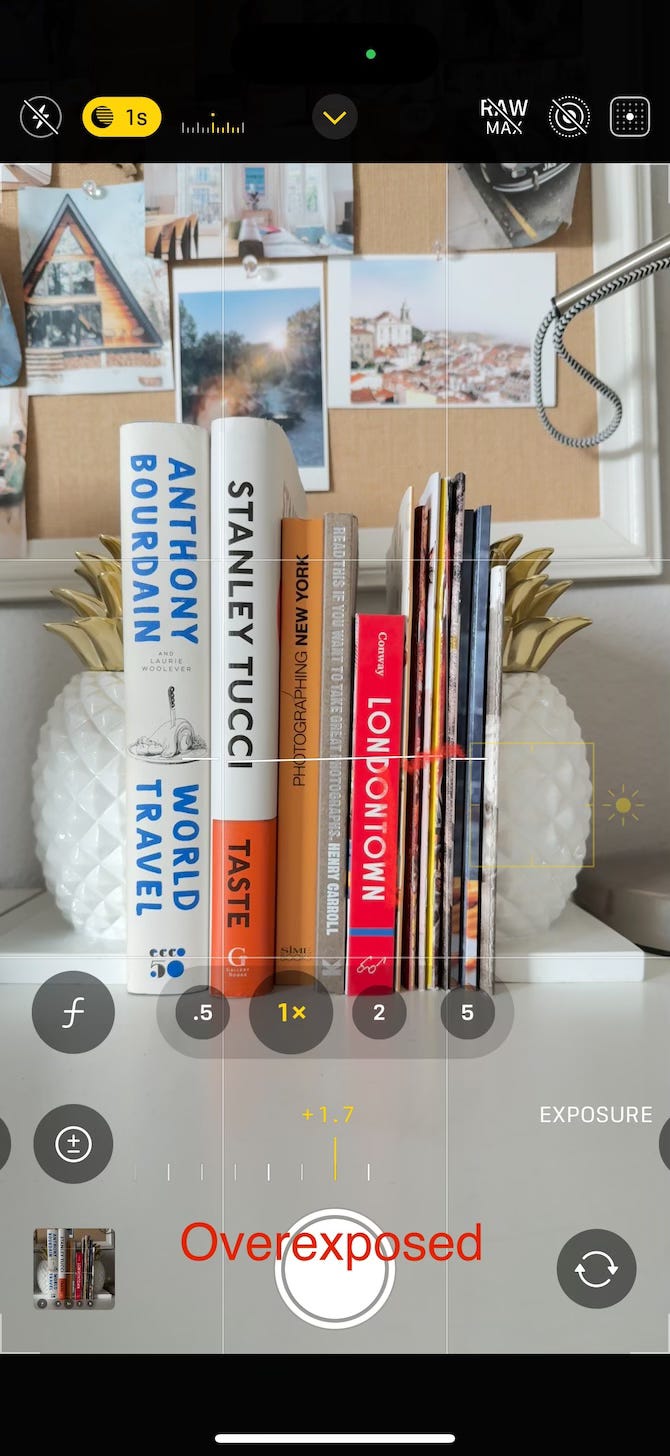
Another way to adjust lighting is by tapping the little arrow (or carrot icon) at the top of your iPhone screen. When you do, a menu will appear along the bottom of the screen. Tap the +/- exposure icon, and a slider will pop up. Slide it left to darken (underexposed) or right to brighten (overexposed). Notice how the numbers on the bottom slider change. Perfect is 0.0, Under is a -1.0, and Over is a +1.7.
I find this option gives more control, especially in tricky lighting, like harsh midday sun or dim indoor scenes.
EXAMPLES
Exposure: Too Bright? Too Dark? Just Right.
Overexposed means your photo is too bright, details in the highlights are lost and can’t be recovered. Underexposed means the image is too dark, shadows take over, but they’re usually easier to fix in editing. The sweet spot is somewhere in between: a well-balanced exposure that captures the full range of light in your scene.
What Should You Do When in Doubt? Overexpose or Underexpose?
If it’s a quick snap of something that catches your eye while you're out and about, aim for a properly exposed photo using the iPhone’s built-in tools (see the tips above). But if you have a little more time, try taking a few versions and experiment. Slide the exposure up and down or left and right, depending on which option you are using. Shoot, and then look at how it affects the mood and details. This is really the best way to learn. Practice! Practice! Practice!
Overexposed
Overexposing your image means you’re likely blowing out the highlights. Those bright areas will lose all detail, and unfortunately, you won’t be able to bring that detail back in editing. This is especially tricky with bright skies, white walls, or anything reflective.
Underexposed
Underexposed images can feel darker or moodier, but the shadows usually hold more recoverable detail. In fact, I often slightly underexpose all of my shots because I know I’ll be editing them later. This gives me more control in post-processing, such as brightening shadows while preserving highlights.
In Low-Light Situations
Think dark, cloudy days; dim indoor lighting (restaurants); or walking through a city center with towering buildings blocking the sun. In these cases, I may slightly overexpose to lift the scene and bring in a bit more light. It helps even out the tones and avoids your shot feeling too flat or heavy.
Examples
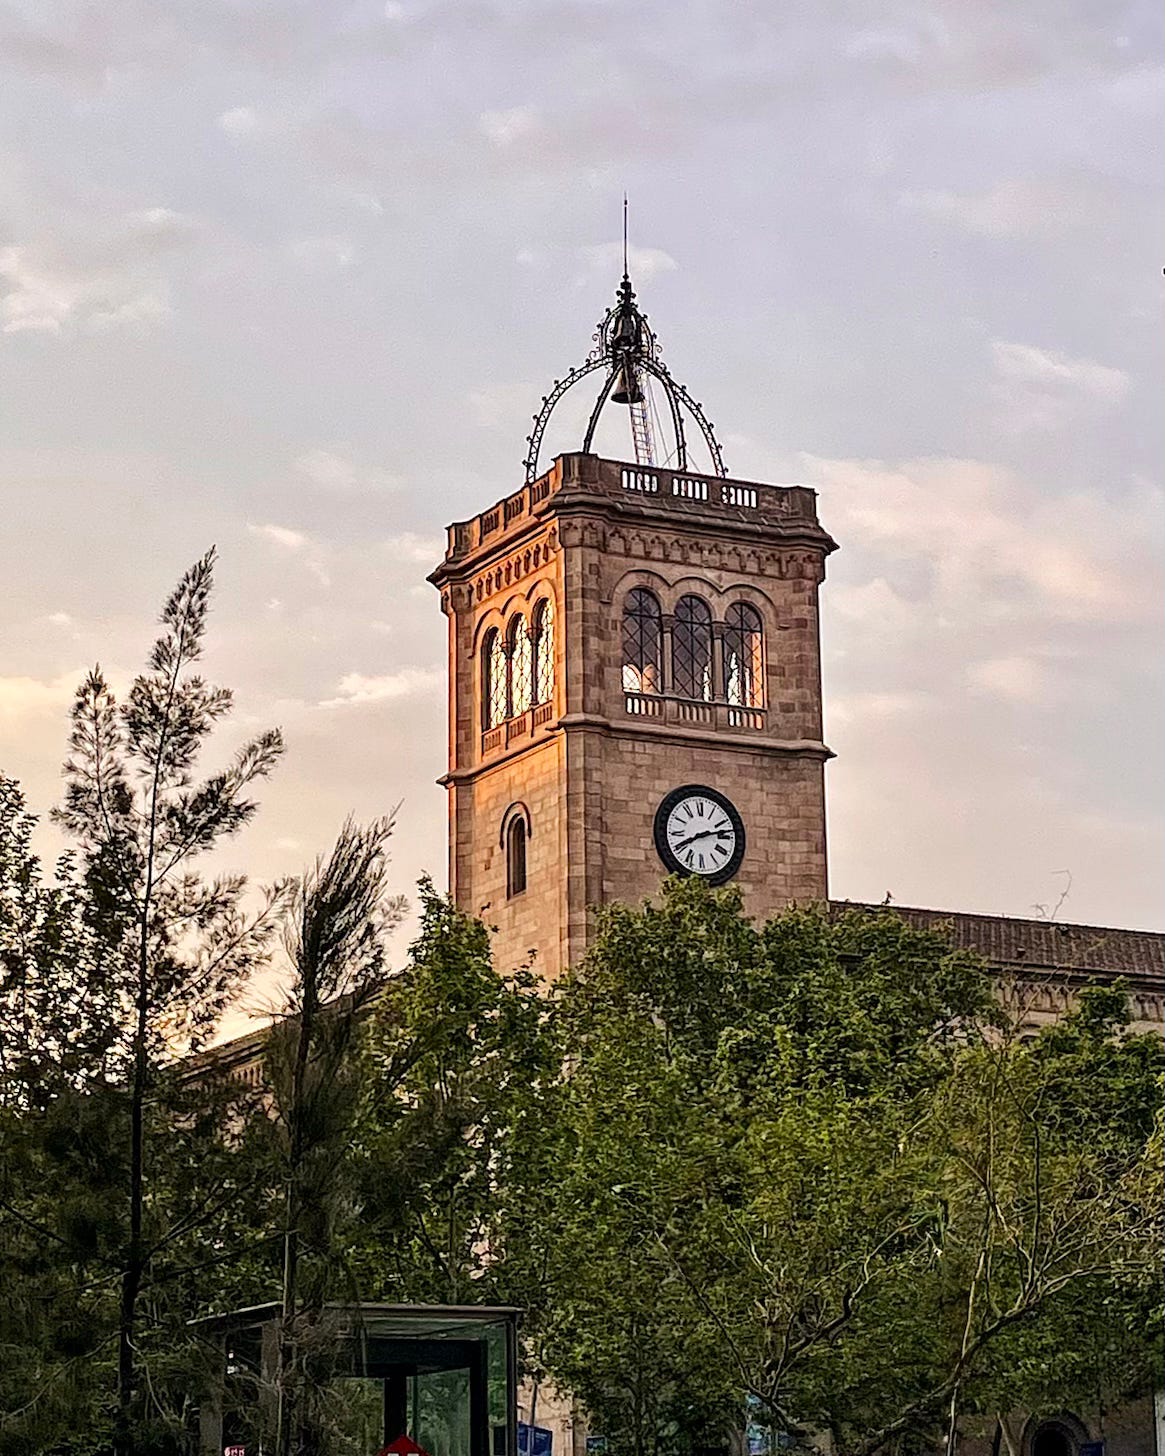
low light, cloudy, before sunset
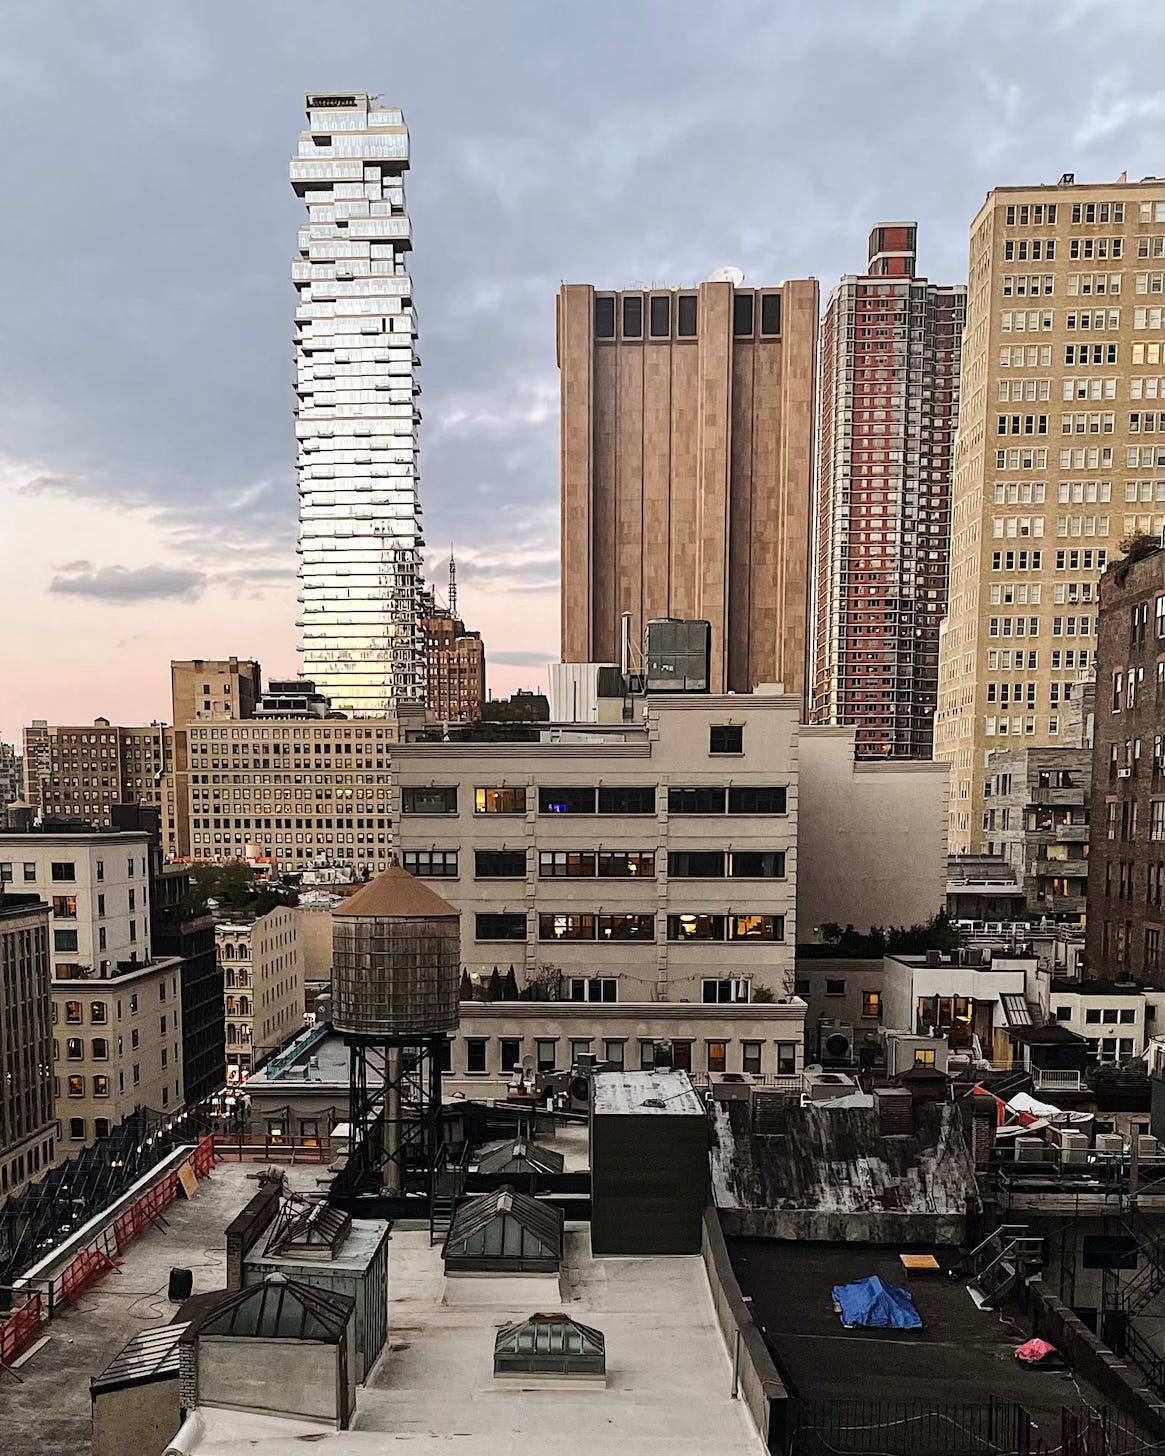
low light, dark buildings blocking, sun, sunset

restaurant setting in the evening, low light, very soft light

restaurant setting in the evening, low light, very soft light

restaurant setting end of the evening, only candle light
Need a refresher? Check out, Getting to know your iPhone Camera, as well as Light, Using What God Gave Us.